







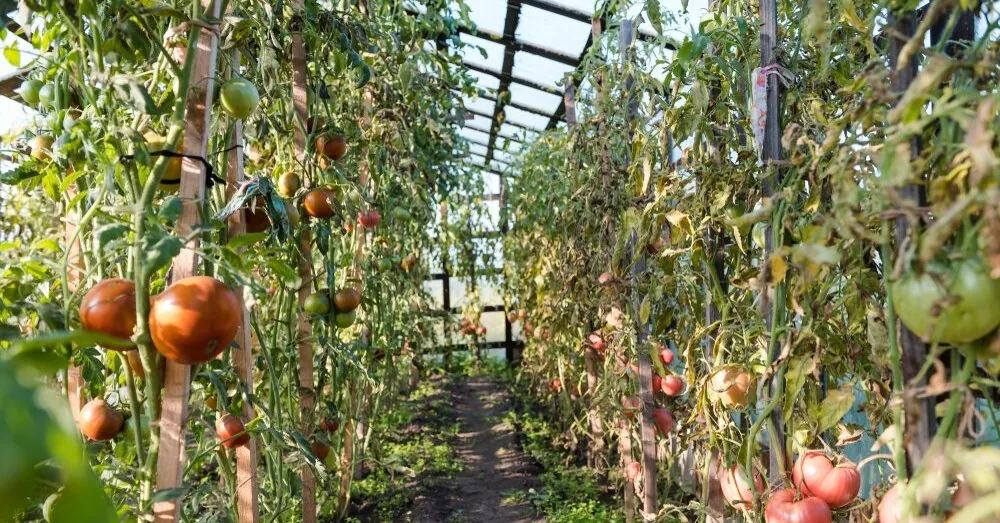
Each tomato bush gives a second “harvest” at the end of the season, but few take advantage of it. We are talking about tomato leaves and stems – they contain minerals that the plant has accumulated all summer. The stems themselves are quite sturdy, so they can also be used practically. Throwing everything into the trash bag means unnecessarily losing what can still be used in the garden.
Where to use tomato leaves and stems so they are beneficial
The possibilities of use are limited not by the plant residues themselves, but by diseases, writes “Gardening Know How”. Therefore, at the end of the season, they should first be carefully sorted.
Late blight (Phytophthora infestans) and powdery mildew (Pseudoidium neolycopersici) cause the most damage during the season, but both diseases require living tissues, so they die along with the plant. However, the pathogens of alternaria (Alternaria linariae) and septoria (Septoria lycopersici) can remain on dried stems. If infected plant residues are thrown into a cold compost pile, the disease pathogens can overwinter quietly and survive until spring.
The main rule in all cases is one: only healthy tomato plant residues can be used for a second life.
1. Burn dry stems and save the ashes
Before burning, tomato stems must be completely dry – only then will they burn well. Therefore, first place them in a rain-protected area and leave for a few weeks.
Burn in a closed container that will prevent embers from spreading onto dry grass.
After burning, the mineral part of what the plant accumulated during the summer remains. Tomato plant ashes are similar in properties to wood ashes: they contain potassium, quite a bit of calcium, and have liming properties, so they can noticeably change soil acidity in one season.
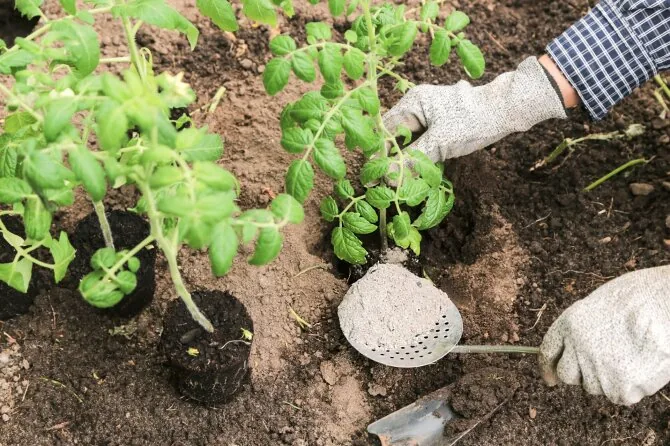
Sprinkle ashes in a thin layer – if the soil is already almost neutral, no more than about one 19-liter bucket per 93 sq. m. Do not use such ashes near blueberries and other plants that prefer acidic soil.
And it is generally better not to fertilize beds where potatoes will grow next season with ashes. Increased soil pH creates more favorable conditions for potato scab development.
2. Turn stems into biochar
Burning and charring are not the same, and in this case, the difference is important. When the plant is completely burned, only mineral ashes remain. But during pyrolysis, when plant material is heated with limited oxygen access, biochar is formed. It preserves the carbon structure and porosity, so it is used to improve soil.
However, thin tomato stems yield little material. After the whole season, there may be only a few handfuls of carbon left.
Therefore, this method is better used together with wood-containing materials, such as pruned branches or old plant supports.
Crush the prepared charcoal and leave it in compost or a bucket with diluted fish emulsion solution for a few weeks. Remember that untreated biochar can initially absorb nutrients in the soil and only later start releasing them.
3. Bury in the ground, but not where tomatoes will grow
Burying tomato plant residues deeply is more effective than throwing them into a cold compost pile. Soil microorganisms work faster and more thoroughly here. Dig a trench about 30 cm deep, place the chopped stems and leaves in it, and cover with soil again.
Chopping is more important here than it may seem. It is better to cut thicker lower parts of stems with pruning shears – this way the plant residues will be packed more densely and decompose more evenly.
However, the place where plant residues are buried is often the cause of problems.
Experts advise: never bury tomato plant residues where tomatoes, peppers, eggplants, or potatoes will grow next season.
Alternaria and septoria can persist in the soil and old plant residues. It is usually recommended to make a two- to three-year break before returning plants of the nightshade family to the same place.
And beds where cabbage or allium plants will grow are suitable for this. You can also choose a place where beans will grow: the nitrogen they accumulate partially compensates for its temporary “locking” during stem decay.
Read more Turto bankas will be able to help implement complex military and civil infrastructure projects
4. Braid supports or wreaths from sturdy stems
Use only healthy plant residues and only those stems that are still flexible. By September, the main indeterminate tomato stems become quite woody, but if you cut them fresh, they will still bend well and not break.
Leave them in the sun for about an hour to lose some moisture. Then twist the longest stems into a ring, and thread the loose ends back through the formed structure.
Do not expect such a support to last more than one season. The stems contain a lot of soft tissues, so when dried they become brittle. A support braided from stems is more seasonal than long-lasting.
Wreaths last better, especially if kept in a dry room. Green stems shrink as they dry, so braid them tighter than seems necessary, and reinforce the ring in three or four places with jute twine.
If braided too loosely, the structure may fall apart by November.
5. Use stems as a base for garden paths
Paths between beds are one of the simplest ways to get rid of a large amount of plant residues.
Lay tomato stems along the path, place them overlapping, and cover everything with wood chips or straw on top. Tomato plant residues block light well enough and suppress weed growth in autumn and winter. By spring, most of the plant residues under the mulch will turn into a flat, dense layer.
But there is one drawback. A moist layer of leaves, stems, and wood chips becomes a perfect hiding place for grey field slugs (Deroceras reticulatum), which look for places to overwinter.
Therefore, it is better to leave such mulch directly on the path and not bring it close to the edges of the beds.
Also, it should not be used on a path adjacent to beds where tuber crops will grow next year. The reason is different: rainwater splashes that reach the lower leaves often become one of the ways alternaria spreads.
6. Prepare an infusion from healthy leaves against pests
This method requires the most caution. Tomato leaves contain tomatine and related alkaloids.
An old homemade recipe suggests taking about two cups (475 ml) of chopped leaves, pouring a liter of water over them, and leaving overnight. Then the liquid is strained and diluted before use.
Gardeners have used such an infusion against aphids and small caterpillars many times. However, there is not much convincing scientific evidence of its effectiveness – it is rather a traditional method based on gardeners’ experience than one confirmed by thorough research.
There are two rules that must not be violated. Use only leaves from plants that showed no signs of disease throughout the season. Tobacco mosaic virus can survive in dried plant residues for up to two years and be transmitted by the simplest contact.
Spraying plants with water prepared from infected leaves can very effectively spread the infection throughout the garden.
Important advice: never use such an infusion on other nightshade family plants.
Keep the prepared solution out of reach of children and pets. Use a separate sprayer that has not been used for herbicides.
What to do with heavily diseased tomato plants?
Plants heavily damaged by diseases are not suitable for any of these methods. Put them in a bag, leave in direct sunlight for a few days so that plant tissues and pathogens die, then throw away with household waste.
Read more „Orlen“ secured more oil for refineries in Poland, the Czech Republic, and Lithuania
Source: glavred.info